
How to Make Homemade Cheese
Making homemade cheese is a rewarding and delicious way to connect with your food. Whether you’re looking to save money, control the ingredients, or explore the world of artisanal cheese, making your own cheese at home can be a fun and creative kitchen adventure. This guide will walk you through the process, from understanding the basics to creating your very own batch of fresh cheese.
Part 1: Introduction to Homemade Cheese
What Is Homemade Cheese?
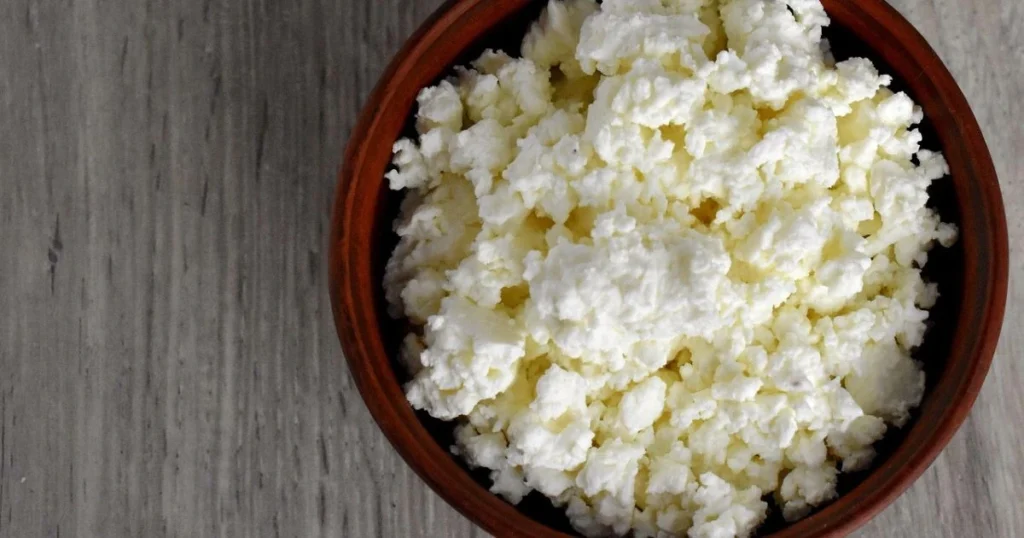
Homemade cheese refers to any cheese crafted at home using simple ingredients and equipment. Unlike store-bought cheese, homemade varieties allow you to tailor the flavor, texture, and freshness exactly to your liking. From soft, fresh cheeses like ricotta and mozzarella to harder varieties aged over time, the possibilities are vast.
Benefits of Making Cheese at Home
- Cost-effective: Save money compared to buying specialty cheeses.
- Control over ingredients: Choose high-quality, organic milk and avoid preservatives or additives.
- Customization: Experiment with different flavors, textures, and aging times.
- Satisfaction: Enjoy the rewarding experience of creating cheese from scratch.
Essential Equipment for Cheese Making
To start, you’ll need:
- A large pot (preferably stainless steel)
- A reliable thermometer
- Cheesecloth or fine muslin
- A colander or strainer
- A cheese press (optional, depending on cheese type)
Many beginners successfully start with household items before investing in specialized equipment. For example, you can substitute a colander with a fine-mesh sieve and press curds using heavy books or clean weights.
Basic Ingredients Required
To make homemade cheese, you need just a few simple and natural ingredients that are easily found in most kitchens or grocery stores. The most important ingredient is whole milk, preferably fresh and not ultra-pasteurized, as this preserves the milk’s proteins essential for curdling. You can use cow, goat, or sheep milk depending on the flavor and texture you want to achieve.
The next key ingredient is an acid to help curdle the milk. Common options include citric acid, lemon juice, or vinegar. These acids cause the milk to separate into curds and whey. Another vital component is rennet, an enzyme that aids in coagulating milk proteins for firmer curds. Rennet is available in animal-based and vegetarian forms.
Finally, salt is added for flavor and to help preserve the cheese. Using high-quality, natural ingredients ensures the best taste and texture for your homemade cheese.
Part 2: Step-by-Step Guide to Making Homemade Cheese
Preparing the Milk
Begin by pouring whole milk into your large pot. Heat it gently on medium-low, monitoring closely with your thermometer. The typical temperature range for cheese making is between 85°F and 95°F (29°C – 35°C), depending on the cheese type.
Note: Heating milk properly ensures the enzymes work efficiently to form curds. Avoid boiling or scorching the milk.
Adding Acid to Milk
Once the milk reaches the desired temperature, slowly add your acid—citric acid, lemon juice, or vinegar—while stirring gently. The acid causes the milk proteins to coagulate, forming soft curds. This is the first step in separating the curds from the whey (the liquid).
For beginners, a trusted recipe like the one from Allrecipes’ Homemade Fresh Cheese offers simple proportions and clear instructions.
Adding Rennet
After acidification, add rennet to further solidify the curds. Rennet contains enzymes that enhance coagulation, making the curds firm enough to cut. Stir gently to mix and allow the milk to rest undisturbed for 30 to 60 minutes.
The milk will transform into a jelly-like mass—this is the curd. If you’re looking for a vegetarian option, some plant-based or microbial rennets work well but might require slight adjustments in timing.
Cutting and Cooking the Curds
Once the curds have set, use a long knife to cut them into cubes about 1-inch wide. This step helps release more whey. Then, slowly heat the curds to about 105°F (40°C), stirring gently.
This heating process firms the curds and improves texture. The longer and more vigorously you stir, the firmer the curds become.
Draining the Whey
Place a cheesecloth inside your colander and carefully ladle the curds into it, allowing the whey to drain. You can save the whey for cooking or drinking—it’s rich in nutrients!
For more techniques on soft cheese like ricotta, check out the Eater guide to making ricotta at home, which explains whey retention and flavor nuances.
Pressing the Curds
For harder cheeses, pressing the curds helps remove excess moisture and form a solid wheel. Wrap the curds tightly in cheesecloth, place them in a cheese press, and apply gentle pressure for several hours or overnight.
If you don’t have a press, a clean weighted object can work. Be sure to turn the cheese periodically to ensure even pressing.
Salting the Cheese
After pressing, sprinkle salt over the cheese surface or mix it directly into the curds. Salt is crucial for:
- Enhancing flavor
- Preserving the cheese by inhibiting unwanted bacteria
- Helping to form the rind
Adjust salt quantities based on your taste preferences and cheese type.
Aging the Cheese (Optional)
Some cheeses benefit from aging or maturation, developing deeper flavors and firmer textures. Aging requires a controlled environment with consistent temperature and humidity.
If you want to explore aging, start with mild cheeses and follow guidelines from trusted sources like BBC Good Food’s Homemade Mozzarella, which discusses fresh cheese varieties and tips on storage.
Frequently Asked Questions (FAQs)
1. What type of milk is best for making homemade cheese?
For the best results, use fresh whole milk that is not ultra-pasteurized. Cow’s milk is the most common, but goat or sheep milk can also be used for different flavors and textures. Avoid ultra-pasteurized milk as the heating process breaks down proteins needed for curdling.
2. Can I make cheese without rennet?
Yes! If you don’t have rennet, you can use acids like lemon juice or vinegar to curdle the milk. However, this method usually produces soft cheeses such as ricotta or paneer rather than firmer cheeses that require rennet.
3. How long does homemade cheese last?
Fresh homemade cheese is best eaten within 5 to 7 days when stored properly in the refrigerator. Keep it wrapped in cheese paper or wax paper inside an airtight container to maintain freshness.
4. What equipment do I need to make cheese at home?
Basic equipment includes a large pot, a thermometer, a colander or strainer, cheesecloth, and optionally a cheese press for harder cheeses. Many beginners start with household items like a fine-mesh sieve and weights to press curds.
5. Why is my cheese grainy or crumbly?
This could be due to overheating the milk, insufficient curd formation, or pressing too hard. Make sure to heat milk gently, use the right amount of acid and rennet, and adjust pressing time according to the cheese type.
6. Can I flavor homemade cheese?
Absolutely! Add herbs, spices, or garlic during or after pressing to customize your cheese. Experimenting with flavors is one of the joys of homemade cheese making.
7. Is homemade cheese healthy?
Homemade cheese can be very healthy since you control the ingredients, avoiding additives and preservatives. It’s a great source of protein, calcium, and healthy fats, especially when made with quality milk.
Final Thoughts
Making homemade cheese is a rewarding and surprisingly simple process that brings fresh, flavorful results to your kitchen. With just a few basic ingredients—milk, acid, rennet, and salt—you can create delicious cheese tailored to your taste. Whether you’re a beginner starting with soft cheeses or ready to explore aged varieties, the steps are easy to follow and endlessly customizable.
The ability to control your ingredients not only ensures better quality and flavor, but also supports healthier eating. Plus, experimenting with herbs, spices, or different milk types adds fun and creativity to the process.
By following this guide, you now have the confidence and knowledge to dive into DIY cheese making. From family snacks to gourmet additions to your meals, homemade cheese is both satisfying and impressive. So grab your pot, heat up the milk, and enjoy the magic of turning simple ingredients into something truly special.
Remember, resources like Allrecipes, BBC Good Food, and Eater offer fantastic recipes and tips that can guide your cheese-making journey.
Ready to try making cheese at home? Gather your ingredients, set your thermometer, and enjoy the magic of transforming simple milk into delicious, fresh cheese!
How to Make Homemade Cheese
Ingredients
- 1 gallon whole milk (not ultra-pasteurized)
- 1 ½ teaspoons citric acid dissolved in ¼ cup water (or ¼ cup lemon juice / vinegar)
- ½ teaspoon liquid rennet diluted in ¼ cup water (or vegetarian rennet alternative)
- 1 teaspoon salt (adjust to taste)
- Remove from heat; let curds settle for 5 minutes.
- Pour curds into a cheesecloth lined colander to drain whey.
- Gather cloth edges and press curds to remove excess liquid.
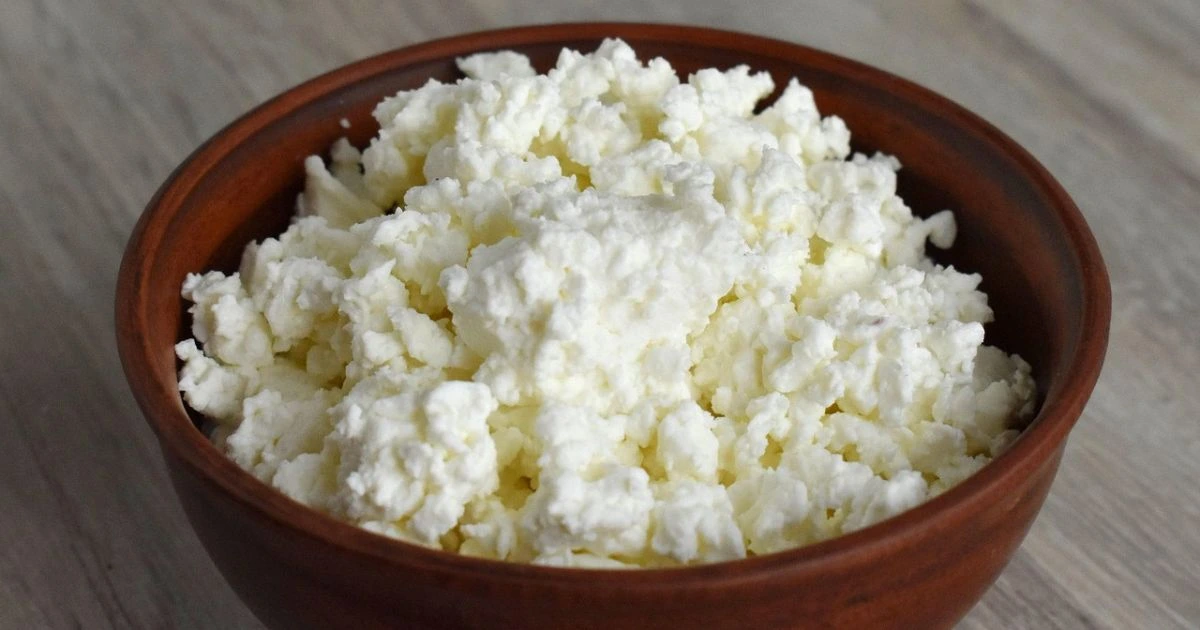
- Transfer cheese to a bowl, add salt, mix gently.
- Refrigerate or consume fresh.
Instructions
- Heat milk in a large pot to 85°F (29°C), stirring gently.
- Add dissolved citric acid or lemon juice, stir gently to curdle milk.
- Add diluted rennet and stir gently; let sit for 30-45 minutes until curds form.
- Cut curds into 1-inch cubes using a long knife.
- Heat slowly to 105°F (40°C) while stirring gently.
Notes
Notes
- Use fresh, quality milk for best results.
- Substitute rennet with additional acid for soft cheeses like paneer.
- Pressing time affects cheese texture; longer pressing yields firmer cheese.
- Store in an airtight container and consume within 1 week.